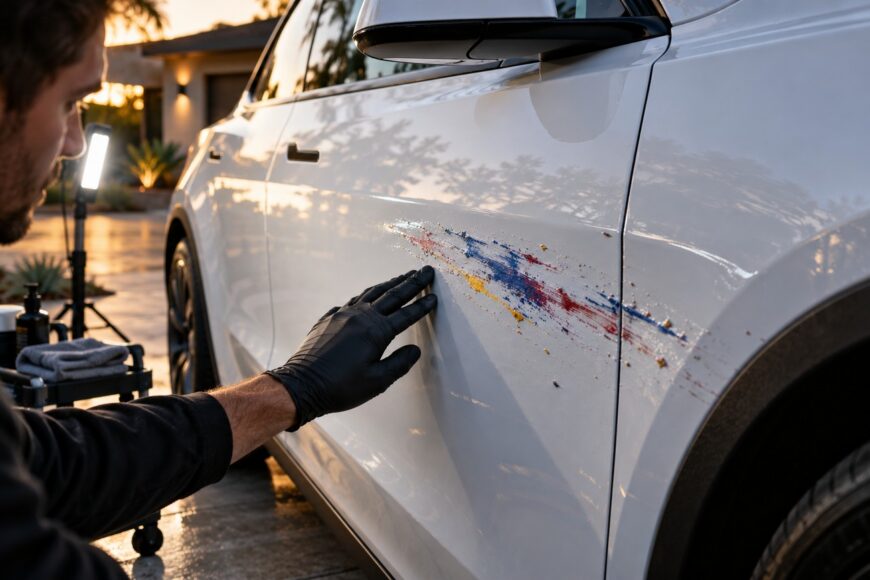
A paint spill on a Tesla Model Y can look like simple color transfer, yet the mark may conceal chipped clear coat, cured contamination, or damage to the vehicle’s own finish. The difference matters: material sitting on top of the panel may respond to controlled cleaning, while paint inside pores, microcracks, chips, or damaged clear coat requires a different repair approach.
The safest response is staged testing. Wash away loose grit, let the panel cool, document the mark, and test a very small area before using stronger chemicals, scraping, or polishing. Tesla permits isopropyl alcohol and a clean microfiber for initial cleaning, with further treatment depending on the result and the condition of the coating.
If the contamination has not decreased by at least 50% after the permitted treatment, stop and contact a body repair service. A small spot can still require clear-coat correction or refinishing across an entire panel, especially when the mark remains around chips, edges, seams, or cracks.
- Identify What Is Actually on the Model Y
- The Safest First Response: Clean, Test, and Document
- When Clay or Solvent Helps—and When to Stop
- Why the Mark Stays Around Chips, Edges, and Gaps
- DIY Mistakes That Turn Cleanup Into Paint Damage
- When to Stop DIY and Call a Body Shop
- Frequently asked questions
- How much does it cost to repair paint damage on a Tesla Model Y?
- How much does it cost to get a Tesla Model Y repainted?
- How much does it cost to repair paint damage on a Tesla?
Identify What Is Actually on the Model Y
Start with a clean, cool, fully dry surface. Wash the area carefully to remove loose grit, then inspect it under angled light. A raised or rough area usually indicates material sitting on top of the surface; a color change without raised texture may indicate damage to the original coating. Appearance alone is not proof, because a thin transfer can look flat after washing.
Run clean fingertips lightly across the panel without dragging dirt over the paint. Check the edges of the mark, nearby chips, panel gaps, seams, and scratches. Paint that has entered a chip, pore, microcrack, or damaged clear coat may remain after the surrounding flat area looks clean. Stronger solvent can then spread the visible defect or affect the exposed coating.
Drying time, temperature, layer thickness, and clear-coat condition all influence the result. A fresh, thin transfer may soften during controlled cleaning, while an older or thicker deposit may have cured onto the surface. A wet panel can also appear clear temporarily; the outline may return when the surface is fully dry and viewed under side lighting.
Tesla’s relevant defect guidance is intended primarily for original factory paint on flat or nearly flat metal panels. A repainted panel may have different products, thickness, curing behavior, or adhesion. Plastic bumpers, trim, seals, and areas near cameras also need separate consideration, even if the same spill appears to cover several materials.
The Safest First Response: Clean, Test, and Document
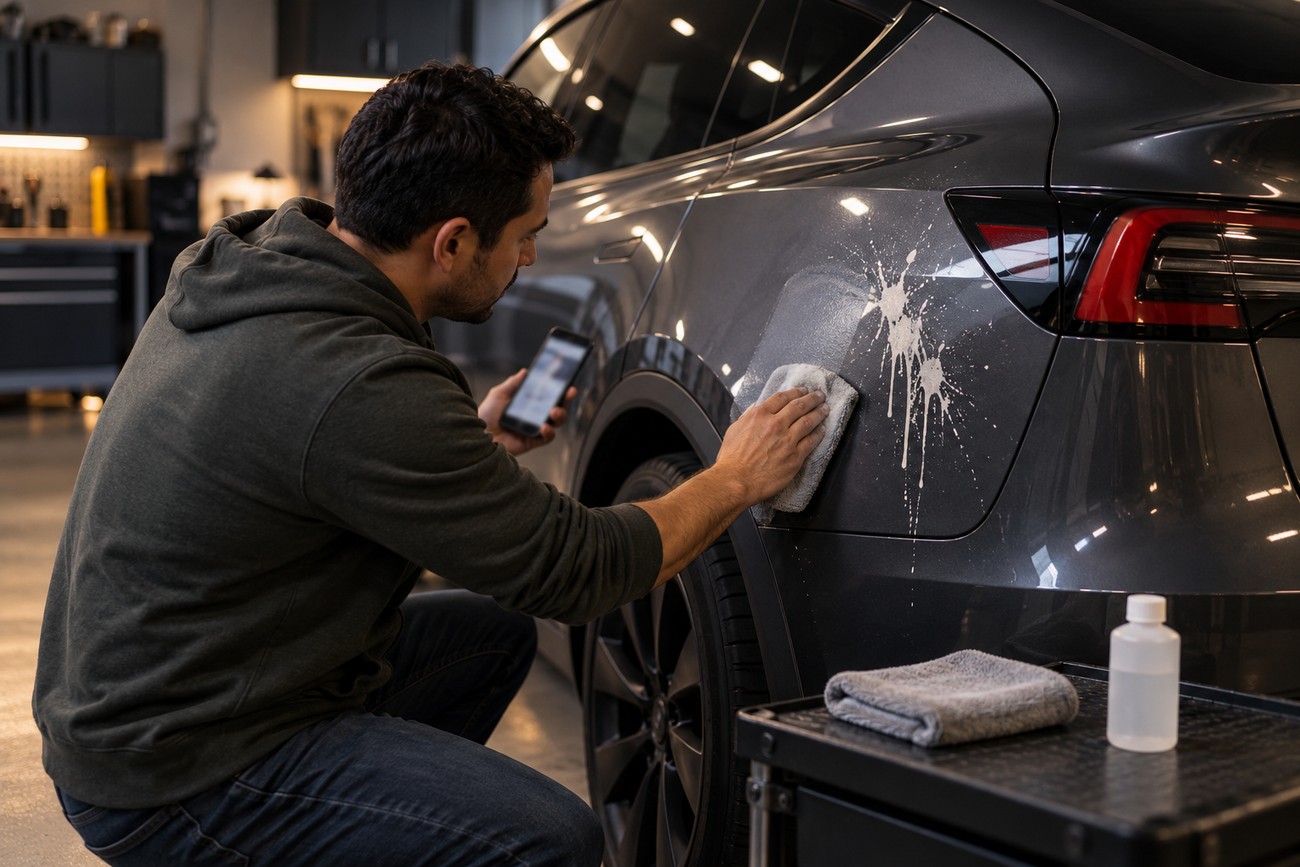
Before touching the spill, photograph it from several angles in consistent light. Record the condition of the panel while it is dry, then wash it with a suitable car-wash method that removes loose particles without grinding them into the finish. Let the panel cool completely before testing; heat can change how both the transferred paint and clear coat respond.
Tesla permits isopropyl alcohol and a clean microfiber for initial cleaning. Apply the product to the towel or use a controlled amount appropriate to the area, then make short, gentle passes over the smallest practical test zone. Avoid flooding seams, trim, seals, camera housings, and plastic components. Compatibility with painted metal does not automatically establish compatibility with every surrounding material.
Photograph the test area before and after treatment under the same lighting and viewing angle. Compare the dry finish, surface texture, and gloss rather than judging only a wet panel. If the towel picks up paint, grit, or thick residue, replace it; a contaminated microfiber or applicator can move abrasive particles across otherwise clean paint.
Keep the test narrow enough to preserve an untreated reference area. This makes it easier to see whether the mark is actually reducing or whether the surface is simply becoming hazier. A clean result should include a follow-up wash and inspection under directed light, because residue can mask both remaining contamination and early clear-coat damage.
When Clay or Solvent Helps—and When to Stop
If the initial cleaning leaves a distinctly rough surface, Tesla provides for clay decontamination. Use clay only on the remaining roughness, with lubrication and light, straight passes. Keep pressure low and avoid circular scrubbing. The aim is to lift bonded contamination gradually, not to abrade the panel until the color disappears.
Stop if the clay becomes heavily contaminated or gathers a visible lump of paint. A soiled piece must not return to the body, because collected particles can scratch the finish. Work in short cycles, inspect the surface, and cool the panel when needed. Repeated passes with dirty clay can turn a contamination problem into a correction problem.
Tesla’s stated stop point is clear: if the contamination has not decreased by at least 50%, stop the procedure and contact a body repair service. A solvent may dissolve transferred paint while also softening, staining, or dulling the clear coat. Its ability to remove the color does not establish that it is safe for the underlying finish.
Claims that WD-40, acetone, thinner, or another strong solvent safely removes any paint conflict with Tesla’s limited, condition-dependent guidance. Avoid escalating to an untested product simply because the first gentle attempt was incomplete. Once the coating, substrate, or spill type is uncertain, professional testing is safer than chemical experimentation.
Why the Mark Stays Around Chips, Edges, and Gaps
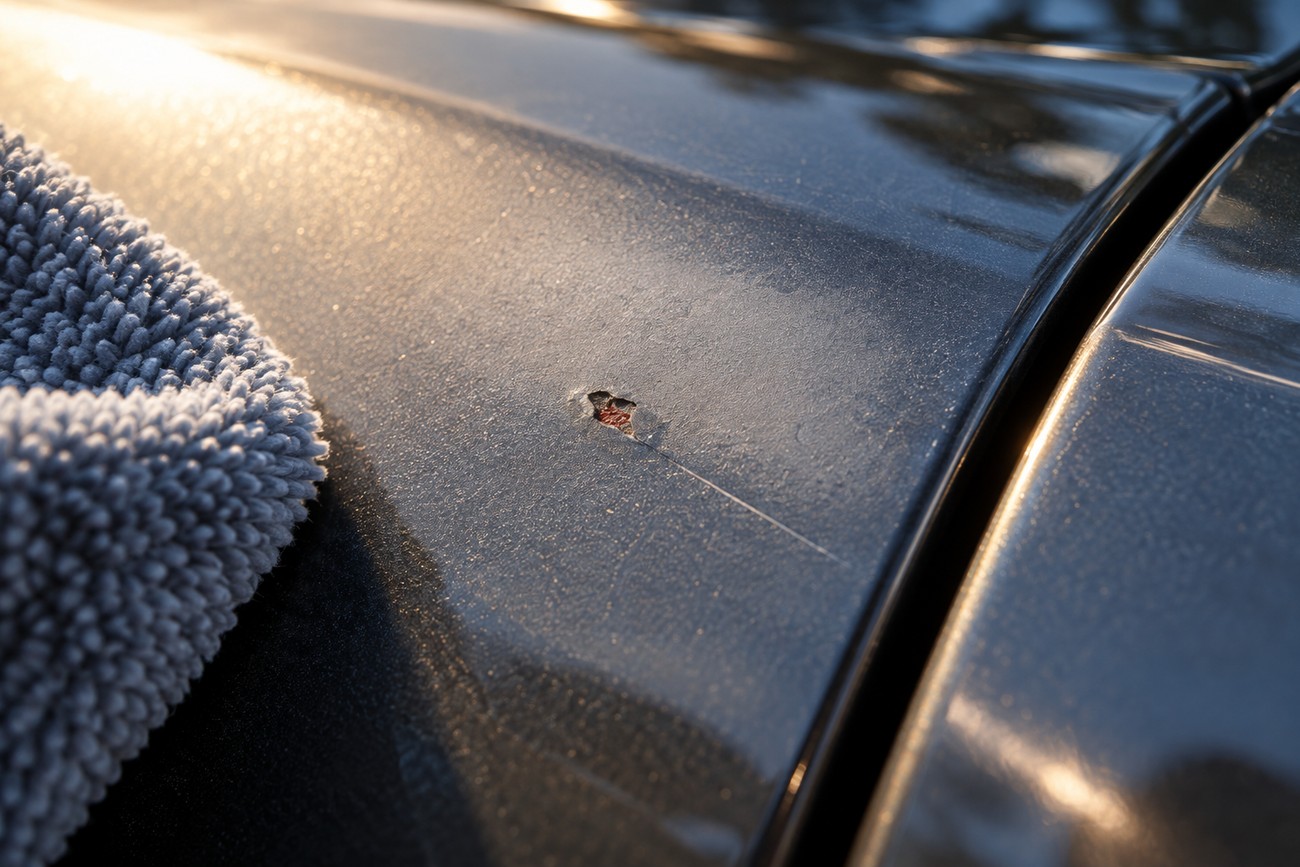
The flat center of a panel often improves first because it presents a continuous, accessible surface. Paint can remain around chips, panel edges, seams, gaps, and scratches because it has settled below the surrounding level or entered damaged coating. This explains the common pattern in which the main stain fades while a dark or colored outline survives.
Chips and cracks deserve special caution. Chemicals can travel into an opening and enlarge the visible zone of damage, even if the surrounding clear coat initially looks unchanged. A mark that follows a scratch may therefore require assessment of the coating itself rather than repeated attempts to remove surface color.
Uniform gloss is often the limiting factor in a small repair. Once clear coat has been disturbed beside an otherwise clean spot, the technically correct repair may extend to a panel edge or a defined repair boundary.
Tesla does not recommend blending clear coat within an isolated exterior area. Its preferred approach is clear coat across the entire panel, edge to edge, or to a defined technical boundary. A small paint spill can therefore become panel-level refinishing when a local patch would leave a visible change in gloss, texture, or color.
DIY Mistakes That Turn Cleanup Into Paint Damage
Dry scrubbing is one of the fastest ways to add defects. Hard sponges, melamine, blades, cutting compounds, hard abrasives, and aggressive polishes can scratch or irreversibly damage the clear coat. A blade may lift a raised deposit while also cutting into the surface, particularly near a chip or on a curved edge.
Untested acetone, nitro thinner, or strong degreasers carry a separate risk. A product that works on one substrate may affect a plastic bumper, trim piece, seal, or camera-adjacent component. Do not treat chemical strength as a substitute for identifying the material and checking a discreet area.
Machine polishing before removing sand and larger particles can grind contamination into the finish. The same applies to a towel that has already collected paint. Clean the panel first, use fresh materials, and keep any correction conservative. More force cannot compensate for uncertainty about what is embedded in the coating.
Matte patches, circular scratches, haze, or an uneven gloss difference are stop signs. They may be especially visible on white or red paint under side lighting, even when the panel looks acceptable from a distance. Short treatment cycles with a cool panel reduce the risk of softening or abrading the clear coat; they do not make an aggressive method safe.
When to Stop DIY and Call a Body Shop
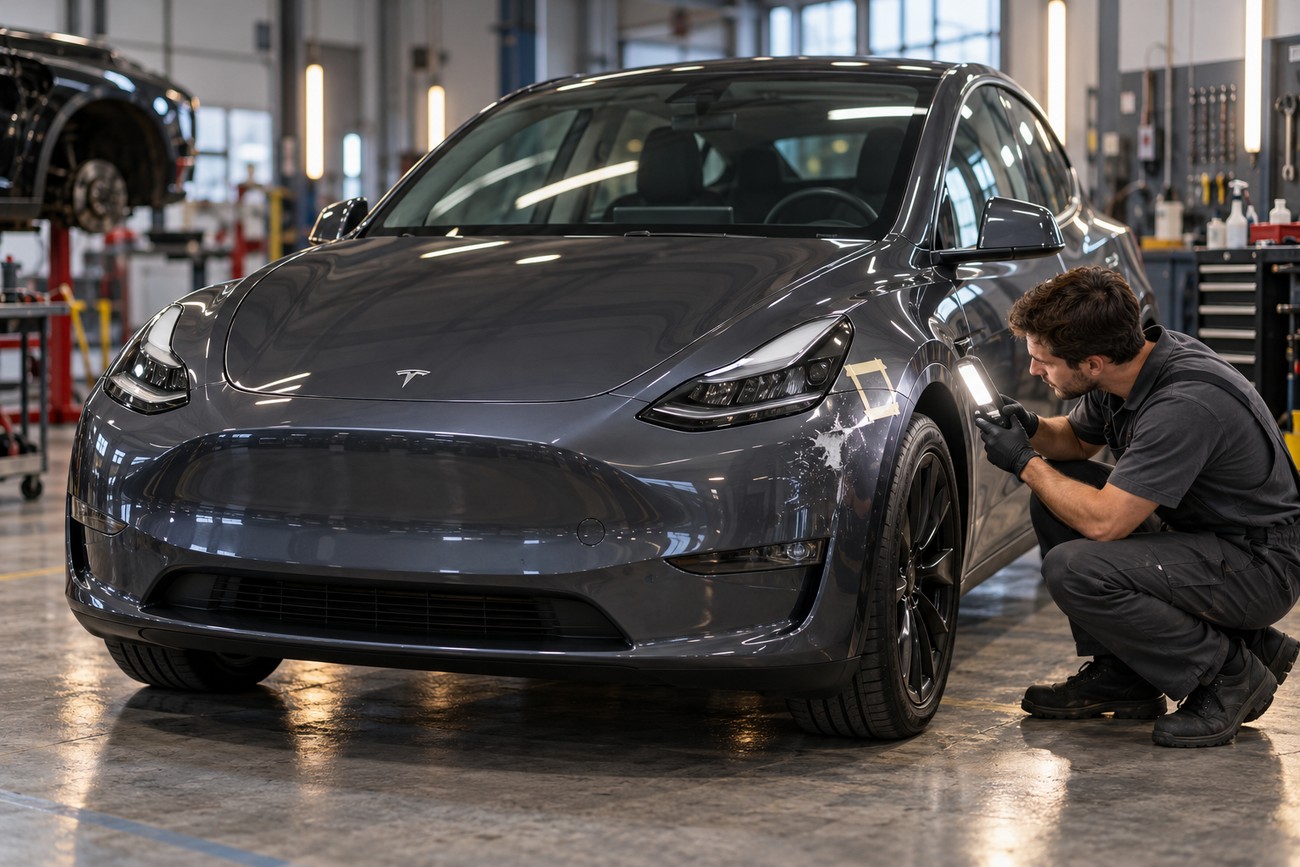
Professional inspection is the rational next step when the test produces less than a 50% reduction, when paint remains inside chips or cracks, or when the panel develops haze or a gloss difference. It is also appropriate when the substrate is uncertain, the panel may have been repainted, or the spill reaches plastic and sensor-adjacent areas.
A reputable shop should first separate removable surface contamination from clear-coat correction, localized repair, and full-panel refinishing. The assessment should include a small test area and an inspection of the coating before anyone promises complete removal. Photographs alone rarely establish how deeply the material has entered damaged paint.
A useful estimate separates visual improvement from coating loss. A tiny test area under identical lighting shows whether the mark is leaving the surface or whether the attempted removal is taking gloss with it.
The repair may involve decontamination, correction of the clear coat, localized paint work, or refinishing of the complete panel. The scope depends on panel size, paint penetration, preparation, coating condition, and the need for a uniform final appearance. No reliable universal price can be given without inspecting those factors.
For Tesla-related body repair, drying limits also matter. Tesla’s guidance specifies a maximum drying time of 45 minutes, a vehicle temperature below 35 °C before drying, and a battery temperature no higher than 60 °C during drying. A repair facility should account for those limits when selecting its process and equipment.
Frequently asked questions
How much does it cost to repair paint damage on a Tesla Model Y?
There is no single reliable price without inspecting the panel and coating. Request an estimate that separates surface cleaning, decontamination, clear-coat correction, localized repair, and panel refinishing. This shows whether the quoted work is intended to remove material, restore gloss, repair damaged paint, or repaint the panel.
Ask the shop to identify the affected material, repair boundary, preparation work, paint, clear coat, and any required blending or panel-level treatment. A single unexplained total makes it difficult to compare estimates or understand why a small-looking mark may require wider work.
How much does it cost to get a Tesla Model Y repainted?
A repainting estimate changes with the number of panels, the condition of the existing finish, preparation requirements, paint and color matching, and the clear-coat scope. One damaged panel may require a different process from several adjacent panels, especially when the color or gloss must transition across a visible boundary.
Ask whether the quote covers removal of contamination, surface preparation, primer or chip repair, paint application, clear coat, curing, and reassembly. The shop should also state whether the work ends at the panel edge or uses a defined technical boundary.
How much does it cost to repair paint damage on a Tesla?
Tesla paint-damage repair can range from controlled cleaning to clear-coat correction or full-panel refinishing. The appropriate category depends on whether the paint is sitting on the surface, has entered damaged coating, or has exposed the original finish. Plastic parts and painted metal panels should be assessed separately.
Waiting can make a spill harder to remove as it dries, but it does not justify aggressive chemicals, scraping, or abrasives. Preserve the area, avoid further experimentation, and obtain an inspection that explains the proposed repair scope before authorizing the work.