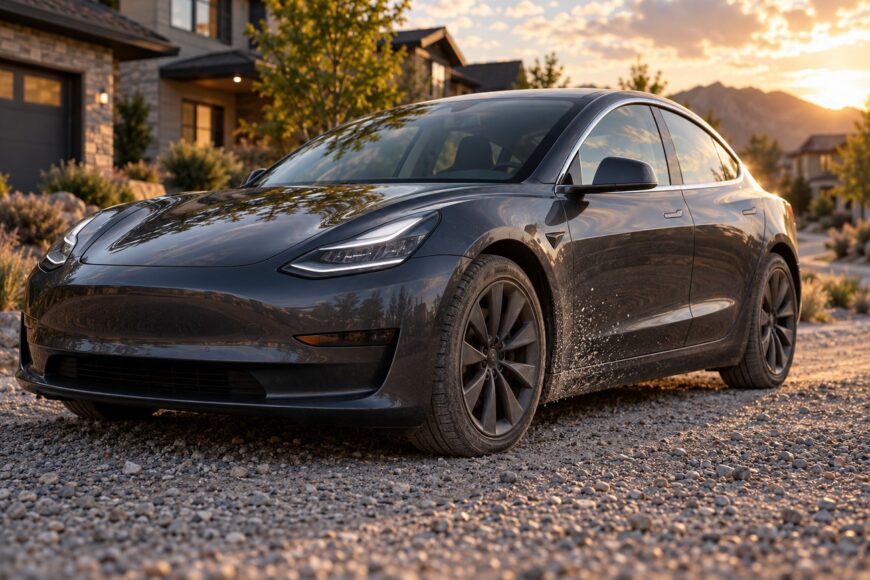
Finding a line of chips across the lower doors of a Tesla Model 3 after a few gravel-road trips can be frustrating. The vulnerable area is often larger than the front bumper: the lower rear doors, sills, and rear wheel-arch edges may show repeated impacts or a dull, sandblasted finish.
The practical choice is whether to prevent repeated damage or keep repairing it as new stone strikes appear. Paint damage is the more routine gravel-road concern than battery failure, although a substantial impact underneath the car, unusual noise, or a change in handling deserves an underbody inspection rather than a cosmetic repair alone.
- Why gravel chips concentrate on a Model 3
- Check the rear doors, sills, and wheel-arch edges first
- Drive to reduce stone strikes, not to promise zero chips
- Gravel protection options: coverage, trade-offs, and timing
- Found chips already? Repair them before covering the paint
- The costly mistakes behind repeat gravel damage
- Frequently asked questions
- How much does Tesla charge to repair a paint chip?
- What year to stay away from Tesla Model 3?
- Why can’t Teslas be sold in Texas?
- What are the most common complaints about the Tesla Model 3?
Why gravel chips concentrate on a Model 3
The Model 3 has approximately 140 mm of ground clearance, varying by version and conditions. Some Performance configurations sit lower, leaving less room between loose stones and the lower bodywork. Its long wheelbase leaves a long stretch of sills and lower doors exposed to stones thrown by the tires.
Loose gravel is lifted by the front tires and can then strike the sills, lower doors, and wheel arches as the car moves forward. Rear tires add another stream of debris, especially when acceleration spins or loads the tread on an unsettled surface. Higher speed and repeated trips increase the number and energy of these impacts.
Some owners report paint measurements of roughly 80–110 µm, but these readings vary and are not a universal Tesla specification. They do not prove that every Model 3 has defective paint or explain how quickly its finish will chip. Repeated sharp impacts can nevertheless damage exposed paint edges.
Tesla does not impose a blanket prohibition on gravel-road driving, although road debris can damage the finish. Routine chips and abrasion should be separated from a hard underbody strike: the former usually calls for paint inspection, while the latter may justify checking shields, suspension parts, jacking points, and the battery enclosure.
Check the rear doors, sills, and wheel-arch edges first
Start with the lower rear doors, working from the front edge toward the rear wheel. Look for isolated chips through the paint, clusters of tiny marks, and broad dull patches where fine gravel has abraded the surface. Wash the area first, because dried mud can hide both damage and loose paint edges.
Next, inspect the sills ahead of the rear wheels and the transition between painted metal, plastic trim, and the wheel arch. These edges receive concentrated spray and are easy to miss when checking only the hood and front bumper. A damaged arch edge may appear as a narrow line of missing paint rather than a large visible chip.
Some owners report chips or sandblasting after approximately 5,000–20,000 km of gravel-road use. This is anecdotal, not a predicted threshold: tire type, road material, speed, weather, traffic, and existing protection all change the result. Visible wear can begin sooner or remain limited for much longer.
Paint damage and a severe underbody impact require different priorities. A dull lower door can wait for a careful bodywork assessment, while a loud strike beneath the car, a new vibration, fluid leakage, or warning message should be investigated promptly.
Drive to reduce stone strikes, not to promise zero chips
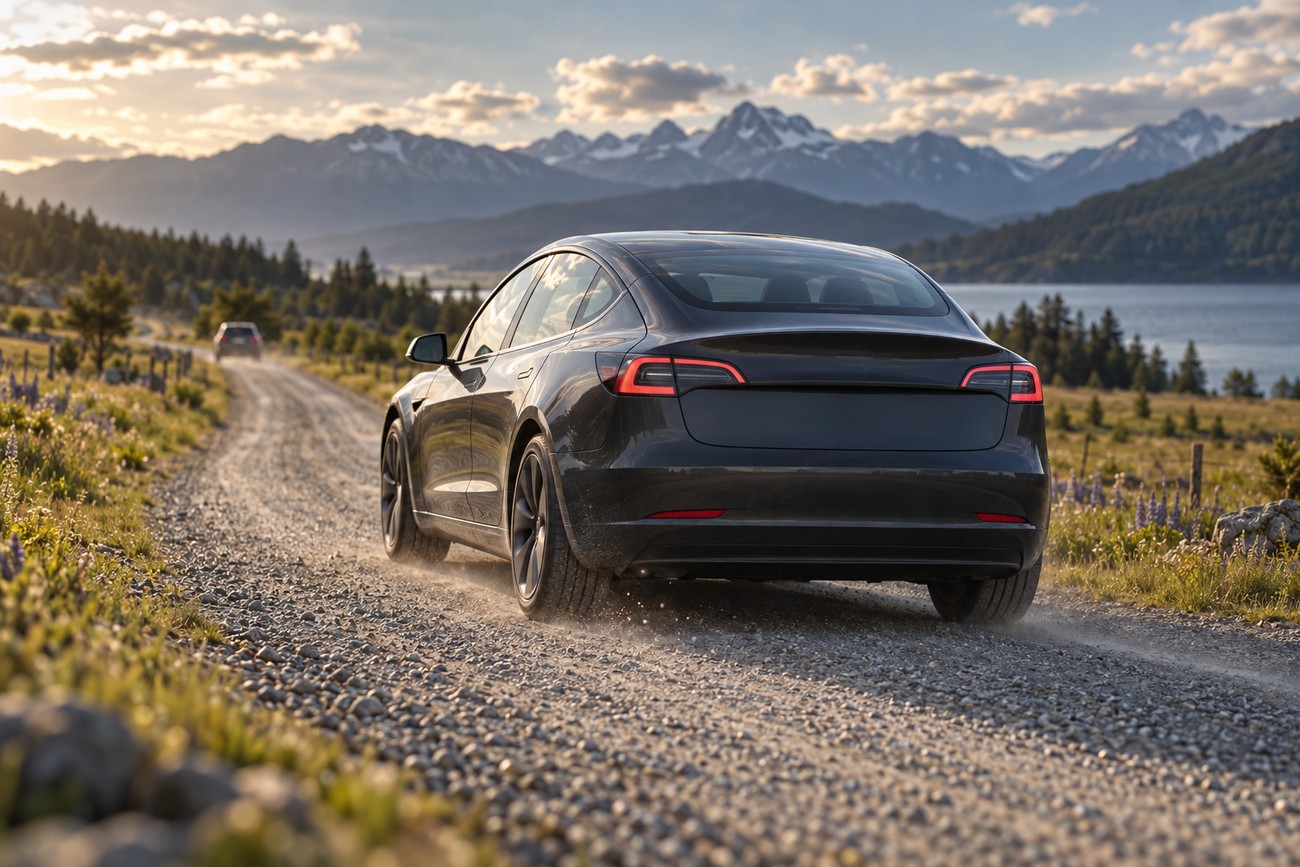
Lower speed reduces the force and frequency of gravel impacts, particularly on corrugated or freshly spread surfaces. Leave more space behind other vehicles so their tires do not throw stones directly toward the front of your car. Smooth acceleration also helps keep the driven tires from scattering loose material into the rear arches.
A softer tire setup or higher-profile tire may affect how much gravel is thrown, and some owners find a smoother drive mode such as Chill easier to manage on loose roads. These measures are secondary to body protection and cannot make the paint chip-free. They also should not be treated as a reason to fit a tire size that is not approved for the vehicle.
Follow the vehicle’s specified tire pressures rather than lowering pressure solely to prevent paint chips. An arbitrary pressure reduction can affect handling, tire temperature, wheel protection, and efficiency. Check pressures when the tires are cold and use the values specified for the particular Model 3 and tire fitment.
Careful driving only slows cumulative abrasion. Fine, sharp gravel can still reach the lower doors and arches on a moderate-speed trip, so repeated exposure eventually matters even when there has been no dramatic stone impact.
Gravel protection options: coverage, trade-offs, and timing
Protection works best when the kit covers the actual impact zones on your car. Check the lower rear doors, sills ahead of the rear wheels, and rear wheel-arch edges against the proposed coverage before installation.
| Option | Protected area | Limitation | Best timing |
|---|---|---|---|
| Extended mud flaps | Reduce gravel spray around the front and rear wheels, especially toward the sills and lower side panels. | They cannot block every stone, and fitment and extension length vary. They do not protect paint already exposed outside their spray path. | Install before regular gravel use, after confirming clearance, steering movement, and coverage on the specific car. |
| Targeted paint protection film (PPF) | Protects the painted surfaces covered by the film, such as lower doors, sills, lower fenders, and selected arch edges. | It does not repair existing chips, and pre-cut or factory kits may leave edges and adjacent areas exposed. | Apply to clean, properly repaired paint before gravel exposure becomes routine. |
| Combined approach | Uses mud flaps to reduce the amount of spray and PPF to protect the remaining high-impact paint zones. | Neither measure guarantees chip-free paint. Poor installation, contaminated edges, or incomplete coverage can reduce the benefit. | Most suitable for a car that regularly travels on gravel, with the exact film boundaries checked in advance. |
Extended mud flaps are a spray-control measure, not armor. Targeted PPF is more precise, but it protects only the surface it covers. A reputable installer should show where the film ends around trim, door gaps, and arch edges rather than treating a small factory or aftermarket kit as full side protection.
Owners who use gravel roads frequently often protect the high-impact zones instead of wrapping the entire vehicle. The correct choice depends on the road surface, mileage, appearance expectations, and local quotes for film and body repairs.
Found chips already? Repair them before covering the paint
Begin with a careful wash and dry inspection in good light. Separate superficial scuffing from chips that have penetrated the coating, and check whether an edge is lifting around trim or the wheel arch. Photographs taken before cleaning can help document the condition for an installer or repairer.
PPF does not repair existing chips. Small isolated damage may be suitable for an appropriate touch-up process, while clustered chips, exposed substrate, or peeling edges may require a body-shop assessment before film is installed. Applying film over unstable paint can preserve the defect underneath and make later correction more difficult.
Inspect the paint-to-trim line and the wheel-arch edge with the door open. Tiny chips in these narrow areas are easy to miss on a clean-looking sill and can undermine an otherwise careful PPF installation.
Corrosion risk depends on whether susceptible metal is exposed and on conditions such as moisture and road salt. Not every chip will rust, but exposed damage should be assessed sooner in wet or heavily salted environments. A local repair should include suitable preparation rather than simply covering a contaminated or oxidized spot.
A substantial strike under the car, persistent rattling, new vibration, or an alert on the vehicle should lead to an underbody inspection. The battery enclosure is designed with substantial protection, but that does not make every underbody component immune to impact damage.
The costly mistakes behind repeat gravel damage
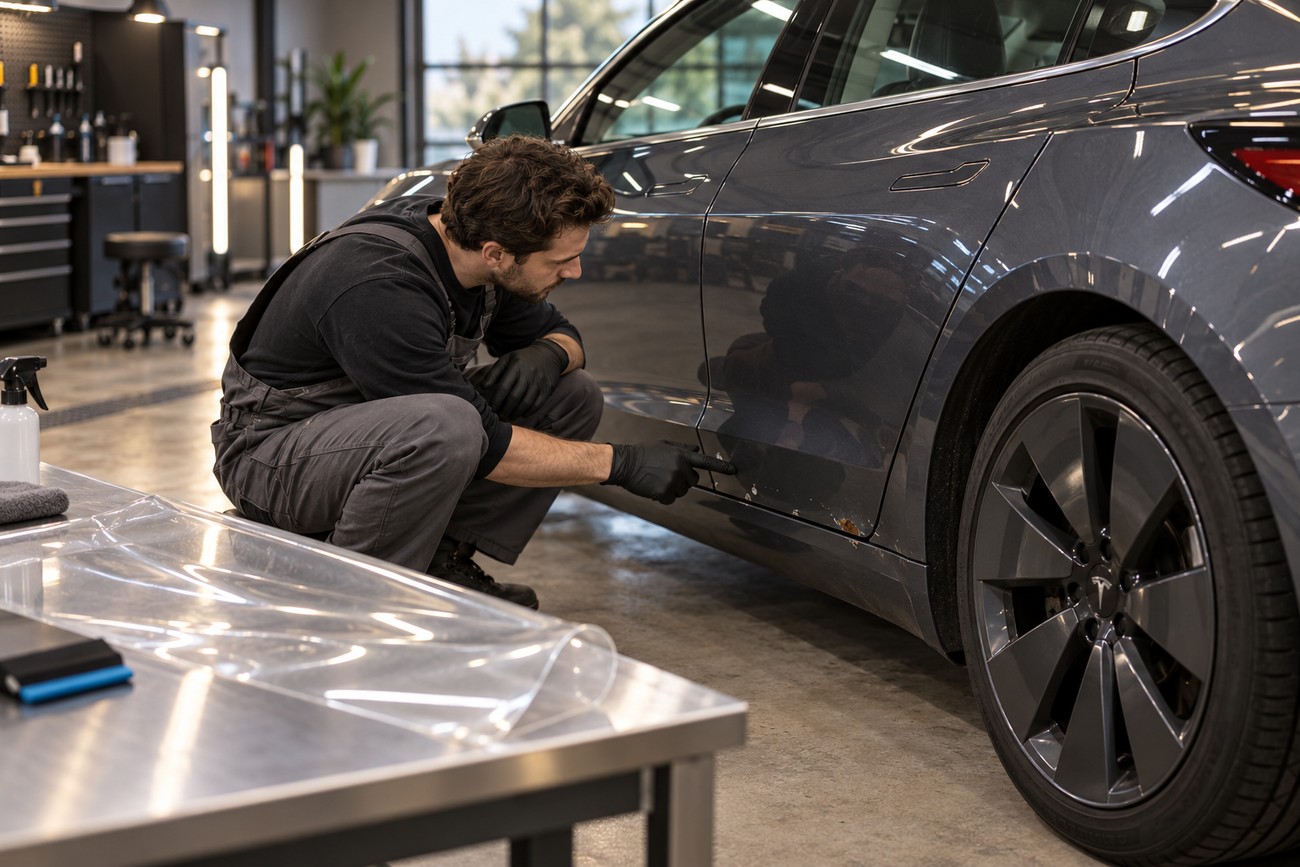
The first mistake is choosing a Model 3 for frequent rural or gravel-road use without allowing for protection. Extended mud flaps and targeted PPF can reduce recurring exposure, but neither guarantees chip-free paint. The protection budget should be considered before the first regular trip rather than after the lower doors are already marked.
Delaying installation until the first service visit can leave the film installer with damaged, dirty, or corroding edges to correct. That may turn a straightforward protection job into a repair and preparation project. Inspecting the car immediately after purchase gives you the option of applying film to sound paint.
Repainting a panel without changing the conditions that caused the damage usually produces a temporary result. New chips can appear within weeks if the same gravel speed, tire spray, and unprotected coverage remain. In some owner-reported cases, repainting one panel costs as much as or more than protecting that panel with PPF, but local quotes depend on the damage, finish, panel, and film coverage.
Cheap film or poor installation can create its own problems, including dirty edges, lifting, and gaps at the most exposed points. Confirm the installer’s preparation process and inspect the actual boundaries of the kit. A factory-branded or pre-cut product is not automatically complete for every gravel-road use case.
Frequently asked questions
How much does Tesla charge to repair a paint chip?
There is no single Tesla charge for a paint chip. The amount depends on whether the damage needs touch-up work, localized refinishing, or repainting of a larger panel, and on whether Tesla or an independent body shop performs the work.
Request comparable written quotes using the same photographs and damage description. Ask each provider to separate touch-up, localized repair, full-panel refinishing, and any corrosion preparation so the prices describe equivalent work.
What year to stay away from Tesla Model 3?
There is no universal Model 3 model year that should automatically be avoided for gravel-road use. Individual condition, prior repairs, paint damage, underbody history, tire fitment, and protection coverage are more useful screening factors than the year alone.
Before purchase, inspect the lower rear doors, sills ahead of the rear wheels, arch edges, and underside. A well-maintained car with documented protection may be a better choice than a newer example that has already suffered extensive unprotected gravel exposure.
Why can’t Teslas be sold in Texas?
Teslas can be driven and owned in Texas, but Texas has historically restricted direct vehicle sales by manufacturers, creating limits on how Tesla can sell new cars directly through its own retail network. The precise rules and available purchasing routes can change, so buyers should check current Texas requirements and Tesla’s current sales arrangements.
This issue concerns the sales model and state regulation, not a gravel-road defect or a Model 3 battery limitation. Used-vehicle transactions, delivery arrangements, and service access may follow different rules from direct new-car sales.
What are the most common complaints about the Tesla Model 3?
Complaints vary by owner and use, but gravel-road drivers commonly report chips and sandblasting on the lower rear doors, sills, and rear wheel-arch edges. Other concerns include inadequate coverage from small mud flaps, repair costs, road noise from stones, and corrosion worries in wet or salted conditions.
These reports do not establish that every Model 3 has defective paint. They indicate that regular gravel use should be matched with sensible speed, inspection, extended mud flaps where appropriate, and targeted PPF coverage checked against the actual car.