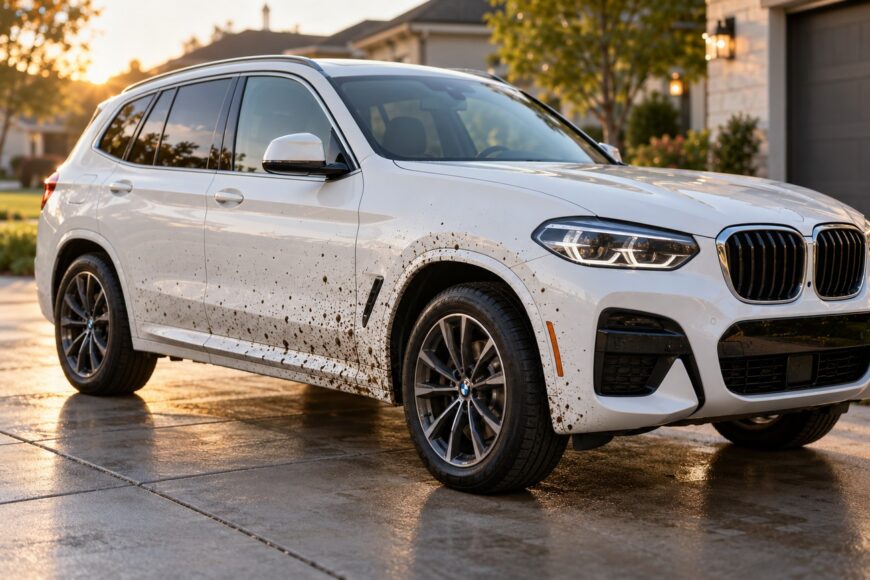
Black tar dots across a clean white BMW X3 can appear minutes after a highway drive or roadwork detour. The lower doors, rocker panels, wheel arches, and rear quarter may look peppered with paint chips, even though much of the damage is simply fresh road contamination sitting on top of the finish.
The safe choice is to soften the tar and lift it gently. Rushed wiping spreads the sticky material and drags abrasive grit across the clear coat, where it can create micro-scratches, haze, and loss of gloss. Ordinary car shampoo rarely dissolves bonded bitumen on its own, while improvised solvents can affect paint protection and nearby trim.
Fresh road tar is usually manageable when treated calmly and locally. The surface should be cool, the abrasive dirt should be rinsed away first, and the remover should be given controlled contact time before the softened residue is lifted with a clean microfiber.
- Why Fresh Road Tar Is So Visible on a White BMW X3
- Before You Touch the Paint: Cool, Rinse, and Inspect
- How to Remove Fresh Tar Without Scratching the Clear Coat
- Mistakes and Myths That Turn Tar Removal Into Paint Damage
- The Final Wash, Inspection, and Protection Check
- When DIY Removal Should Stop
- Frequently asked questions
- Does the best BMW X3 color change how road tar should be removed?
- What should I do if my BMW X3 has paint protection film or ceramic coating?
- What is the common problem with BMW X3?
- What is the best color for a BMW X3?
- Why is the BMW X3 so cheap?
Why Fresh Road Tar Is So Visible on a White BMW X3
Road tar is a mixture of bitumen fractions and fillers. Fresh deposits remain more workable before oxidation and polymerization progress, so early treatment generally makes removal easier. Temperature, composition, and deposit thickness still affect how readily each spot releases.
White paint creates strong contrast against black and brown bitumen. That contrast can make a clean BMW X3 look damaged immediately after a drive, especially along the lower doors and wheel arches. A dark spot may resemble a chip at a glance, but careful inspection often shows raised, sticky contamination sitting above the paint.
Modern BMW automotive finishes are multiplayer systems with a transparent clear coat. Dry rubbing or abrasive wiping can mark that upper layer with haze and holograms, even when the underlying color coat is intact. White paint may make those defects appear as gray smears or reduced gloss rather than obvious dark scratches.
The cleaning principle remains the same as for other automotive finishes: rinse away abrasive dirt, soften the tar with an automotive remover, lift gently, wash the area, inspect, and restore protection if needed. White paint changes visibility, not the basic chemistry of removal.
Before You Touch the Paint: Cool, Rinse, and Inspect
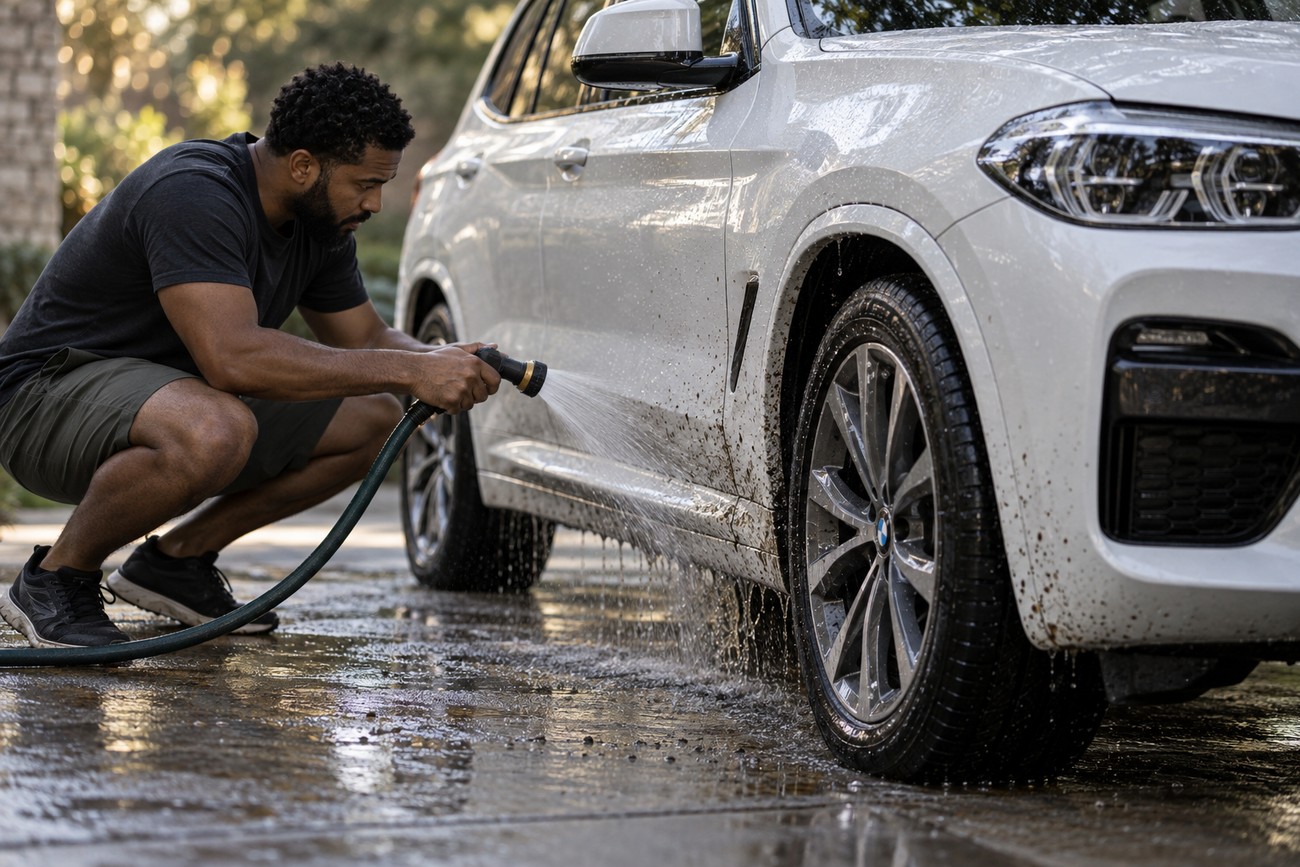
Work in shade on a cool, dry panel. A hot body panel causes remover to evaporate faster, reducing its useful contact time and making the product less predictable. If the BMW has just left the highway, allow the affected area to cool before applying anything solvent-based.
Rinse away loose sand, dust, and road grit before addressing the tar. Those particles are abrasive, and dragging them under a cloth can cause more clear-coat damage than the tar itself. Use a careful wash or strong rinse, then inspect the lower doors, rocker panels, door bottoms, and wheel arches.
Divide the contaminated area into small sections rather than covering the entire side of the vehicle. Local application gives you better control around plastic trim, rubber seals, panel gaps, and textured lower surfaces. It also prevents the product from drying unnoticed on a large, hot panel.
Fresh tar can feel soft on the outside while remaining bonded beneath a layer of road dirt. Visible softness does not prove that the deposit has released from the clear coat. Let the remover do the initial work, then test whether the residue lifts with light pressure.
How to Remove Fresh Tar Without Scratching the Clear Coat
Choose an automotive tar remover intended for painted exterior surfaces. These products commonly use hydrocarbon solvents designed to soften bitumen, but they can affect waxes, sealants, and some fresh protective coatings. Read the product directions, and test it first on a small, inconspicuous area.
Apply the remover only to the affected section, then allow sufficient but controlled contact time for the tar to soften. Do not let the product dry on the panel, and do not extend the dwell time simply because the first attempt seems slow. The correct working time depends on the product, surface temperature, and condition of the deposit.
Use a soft, short-pile microfiber to lift the softened residue with gentle, straight movements. Fold to a clean side as the cloth becomes contaminated, and replace it if it begins to drag. A stiff cloth, paper towel, or dry wipe can spread the tar and increase the chance of micro-scratches.
Several small solvent-and-lift cycles are often safer than one forceful wipe, especially on rocker panels and textured lower trim where residue can sit in the surface pattern.
If a mark remains, apply another mild cycle rather than increasing pressure or immediately choosing a harsher solvent. Several mild cycles can be safer and more effective than one aggressive pass when tar has begun to set. Keep the work local, and prevent dissolved residue from being pushed onto a clean panel.
After the spot releases, move to the next small section and keep used microfiber away from untouched paint. This simple separation reduces the chance of transferring softened bitumen and trapped grit across the rest of the BMW X3.
Mistakes and Myths That Turn Tar Removal Into Paint Damage
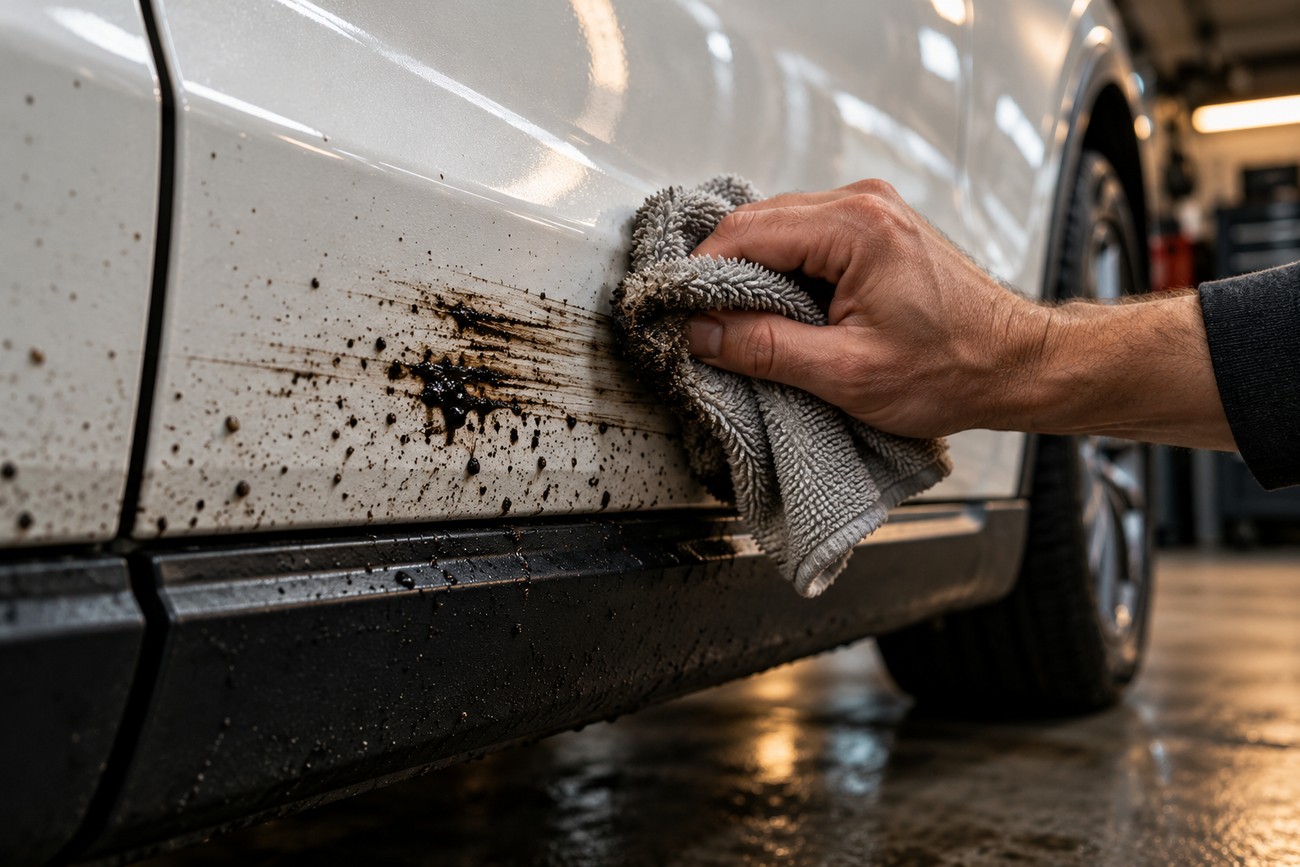
Dry wiping is the most common avoidable mistake. A dry cloth may move loose dust, but it does not provide the controlled solvent contact needed to soften bitumen. Rubbing a sticky spot can smear it across the clear coat and pull embedded grit over the surface.
Household thinners, strong degreasers, and whatever solvent is available are poor substitutes for an automotive tar remover. Their effect on clear coat, plastic, rubber, seals, and existing protection can be difficult to predict. Nearby trim may react more quickly than the painted panel, particularly around rocker panels and wheel arches.
WD-40 or a universal lubricant may soften some residue, but it is not a guaranteed, predictable replacement for an automotive tar remover. A stronger solvent is not automatically better either. Aggressive chemistry can weaken waxes and sealants, affect fresh coatings, and leave you with a larger correction problem than the original tar spots.
White paint does not make scratches harmless. Micro-scratches may appear as gray haze, dullness, or uneven reflections rather than the obvious swirls seen on a dark finish. Trying to remove everything in one hard pass increases that risk; controlled repeated treatment is the safer approach.
The Final Wash, Inspection, and Protection Check
Wash the treated area after solvent use. Dissolved tar and remover residue can remain in seams, panel gaps, textured trim, and pores if the area is only wiped. A proper final wash removes that film and gives you a more accurate view of the paint.
Inspect the panel by touch and in reflected light. Run clean fingertips lightly over the surface after it is clean and dry, checking edges, body creases, and the texture of the lower trim. A mark that appears to return after washing may be bitumen left in the surface pattern or along a seam.
Dark shadows that remain on white paint are not always tar. Road dust, iron contamination, or staining can create a similar appearance after the sticky material has been removed. These contaminants require separate decontamination, so avoid repeating solvent treatment indefinitely when the remaining mark no longer feels oily or raised.
Check the surface protection once the work is complete. Tar remover may weaken or remove existing wax or sealant, leaving the panel less protected than the rest of the vehicle. Reapply protection according to the product system and its instructions, particularly if the BMW was recently detailed or coated.
When DIY Removal Should Stop
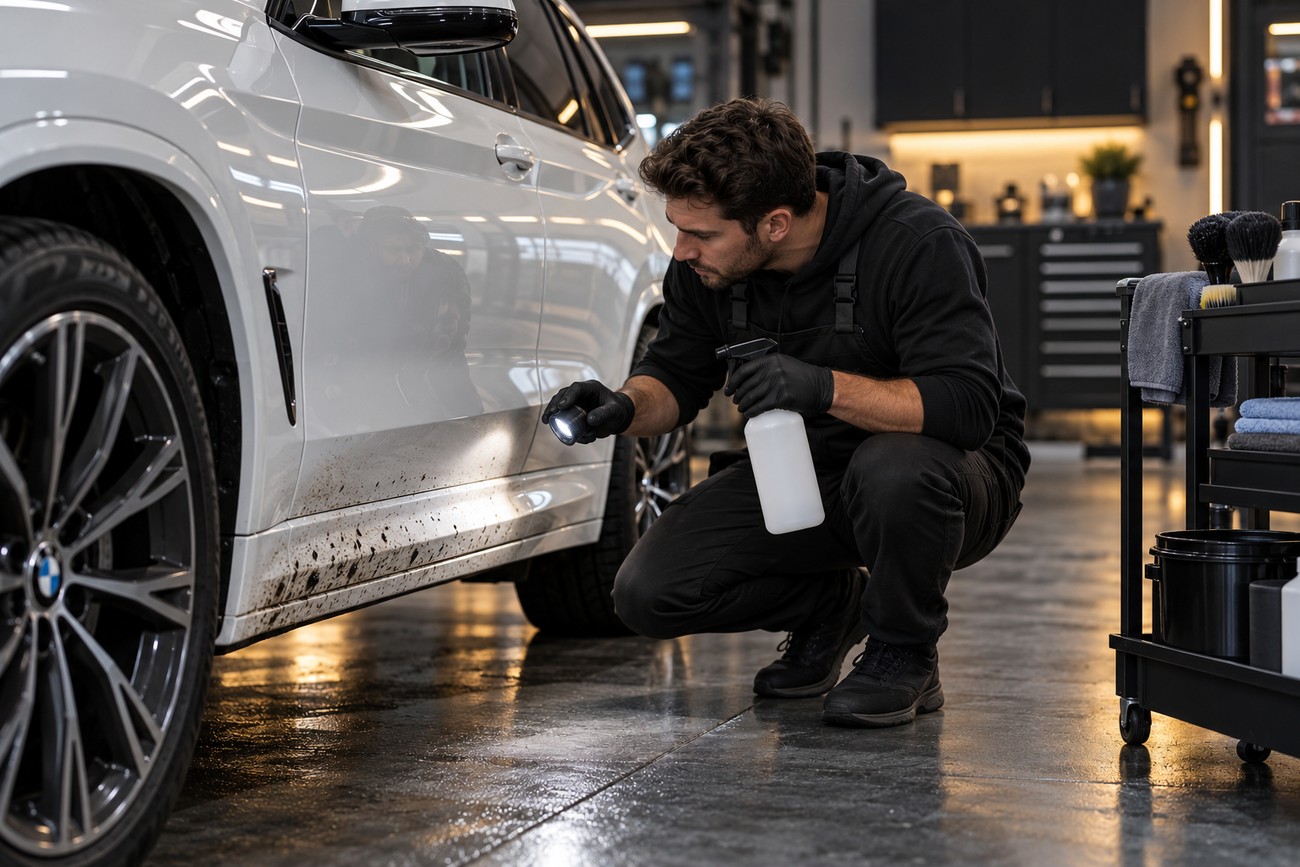
Home treatment should become more cautious as the tar cures. Professional guidance commonly favors removing fresh tar within the first few hours or within a day, although the useful window varies with temperature, composition, and deposit thickness. Once the material has hardened, repeated controlled cycles are preferable to an immediate jump to abrasive methods.
Stop if the paint has been freshly polished, newly coated, or recently detailed and you cannot confirm product compatibility. A fresh protective layer may not be fully stable, and an otherwise paint-safe solvent may still affect it. Follow the protection manufacturer’s instructions before treating the contamination.
Stop also if nearby plastic, rubber, or seals change color, swell, become tacky, or show another reaction. These materials can be more vulnerable to aggressive chemistry than the painted panel. Remove the product as directed and seek an assessment if the reaction does not clear.
Professional help is sensible when staining remains after safe removal, the residue is fully cured, or you are considering clay, polishing, or stronger chemistry. An inspection can distinguish remaining contamination from clear-coat damage and may prevent unnecessary removal of the transparent upper layer.
Frequently asked questions
The same careful process applies across BMW X3 paint colors and exterior finishes. Visibility may change, but the need to rinse away grit and soften the tar remains the same. Protective films and coatings may require additional compatibility checks before treatment.
Does the best BMW X3 color change how road tar should be removed?
No. Vehicle color changes contrast and visibility rather than the cleaning chemistry. White makes dark tar obvious, while darker finishes may hide tar more effectively and reveal dust, water marks, or swirl marks instead.
Use the same paint-safe sequence on every color: rinse away abrasive dirt, soften the tar with a compatible automotive remover, lift it gently, wash the area, and inspect the finish.
What should I do if my BMW X3 has paint protection film or ceramic coating?
Check the film or coating manufacturer’s compatibility guidance before applying a tar remover. A product safe for cured automotive paint is not automatically safe for every protective layer, especially if the film or coating is fresh.
Use the mildest approved product, test a hidden area, and keep the contact time controlled. If compatibility is unclear, a specialist familiar with that protection system can remove the tar without unnecessarily compromising its performance.
What is the common problem with BMW X3?
For this situation, the common problem is road tar adhering to the lower body after highway driving or roadwork exposure. It often affects rocker panels, door bottoms, and wheel arches, where sticky contamination collects close to road spray.
That appearance does not by itself indicate a BMW paint defect. If spots remain raised or tacky after washing, treat them as contamination first and avoid polishing until the surface has been safely cleaned.
What is the best color for a BMW X3?
The best color depends on how you use and maintain the vehicle. White makes tar and other dark road contamination easy to spot, which helps you address it early. Darker colors can conceal some dirt while making swirls, dust, and water marks more visible.
For practical ownership, choose the color whose maintenance demands suit your routine. The color does not change the safe method for removing road tar.
Why is the BMW X3 so cheap?
A BMW X3 may be priced lower because of its age, mileage, trim level, market conditions, service history, or previous use. A lower asking price alone does not identify a specific mechanical or paint problem.
Check maintenance records, accident history, bodywork, tires, electronics, and the condition of the paint protection before buying. A professional inspection can explain whether the price reflects normal depreciation or deferred repairs.